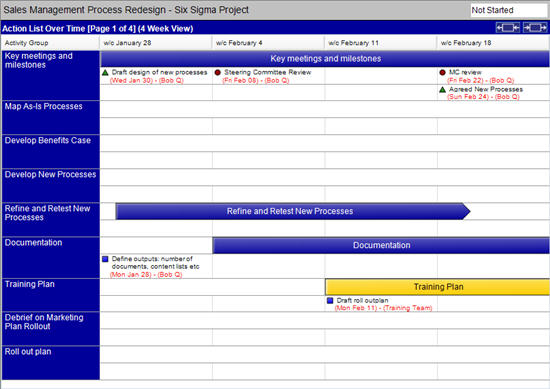
Action List over Time
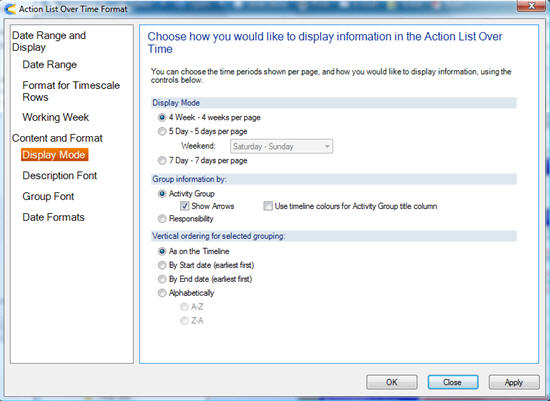
The Action List over Time provides a view of all the actions, meetings and milestones in the project laid out either by week (4 weeks to a page, see example below), or by day (5 or 7 days to a page).
It is a great view for creating, reviewing or updating “what needs to get done in the next week or few weeks”, or for reviewing what should have happened, as it gives you a perspective across all the Activity Groups.
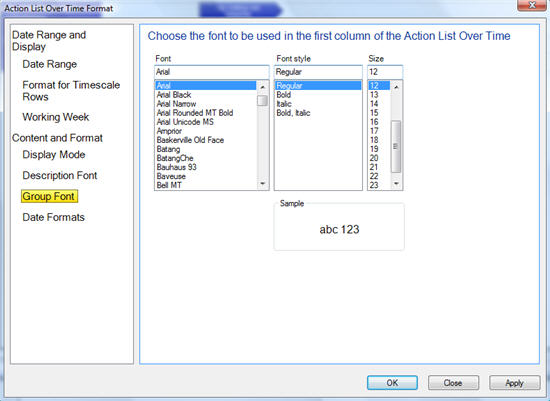
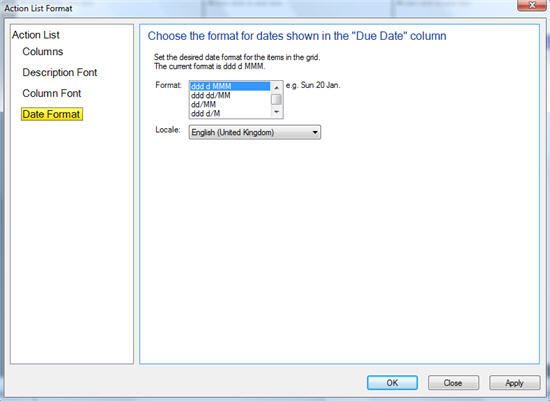
The colours in the left hand column default to dark blue for all Activity Groups, but can be made to match the Activity Group colours on the timeline through using the Display Mode tab of the Page Body format dialogue
Adding Meetings, Milestones and Actions
There are a number of ways of adding new Meetings, Milestones and Actions into the Action List over Time:
- Dragging and dropping the respective icons from the Toolbox section into the table
- The menu (Insert > Meeting OR Milestone OR Action)
- Clicking in a blank cell in the table
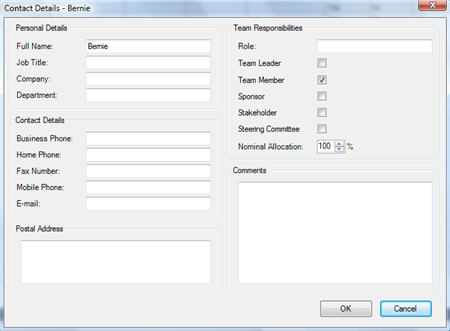
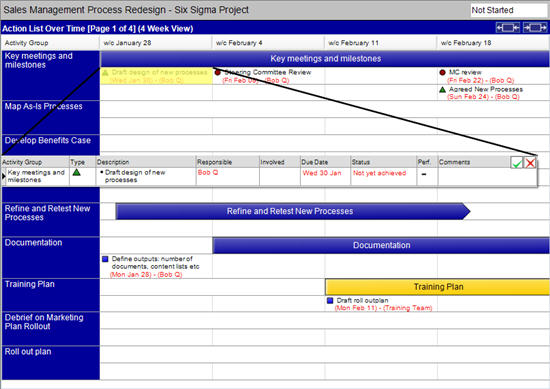
Editing the Detail of Meetings, Milestones or Actions
:
Only the name of the Meeting, Milestone or Action can be directly edited in Action List over Time table.
All other details can be accessed and edited by double-clicking on the Meeting icon (red circle), Milestone icon (green triangle) or Action icon (blue square). This brings up a single row table with the same detail that would be found in the Action List. Changes can be made and then committed by clicking on the tick.
Changing between Modes of the Action List over Time
:
There are a number of ways to switch between the three modes of the Action List over Time (4 weeks to a page, 5 day mode or 7 day mode):
- In 4 weeks to page mode, double-clicking at the top of the page in the Timescale row, in the week that you want to go to, moves you to 5 / 7 day mode
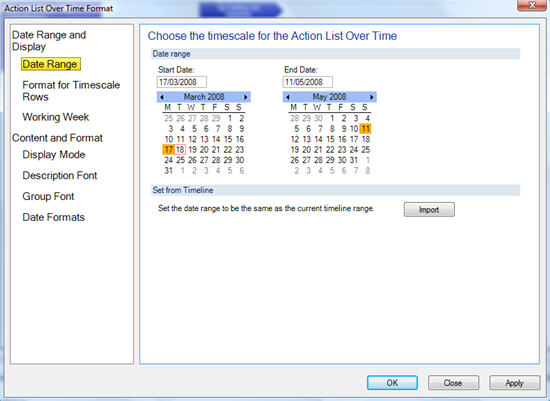
- Using the Page Body format dialogue on the Display mode tab
- Using the Views toolbar
Grouping the Data in the Action List over Time
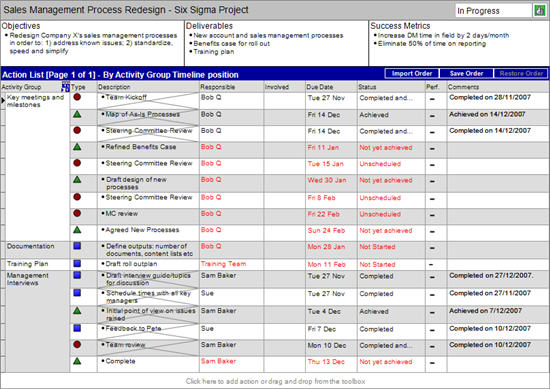
In the Action List over Time, the Meetings, Milestones and Actions can be grouped either by Activity Group or by Contact. You can choose which option you want to display in two ways:
- Clicking on the top left cell in the table (where is says Activity Group or Contacts) and selecting either option from the dropdown to group the Meetings, Milestones and Actions.
- Using the Page Body format dialogue to effect a similar change in the grouping of Meetings, Milestones and Actions
After this initial grouping by either Activity Group or Contact, the ordering of Meetings, Milestones and Actions will be firstly by date (only relevant for the 4 week mode), then Meetings ahead of Milestones, ahead of Actions, finally within each type ordering is alphabetically.
Display settings
Individual Activity Groups, Contacts, Meetings, Milestones or Actions in the Action List over Time view can be hidden using the right-click menu (or from the toolbar) so that you can choose what to share with others.