Printing from Swiftlight file is straight-forward.
The approach to printing makes it easy for you to print out what you want since you can choose to print all, or some, of the pages in each view, or to print pages from multiple views. You can also choose the order in which you want to have your pages printed using Print Advanced.
Further, with Swiftlight’s "what you see is what you get" (WYSIWYG) design, you always know what you are going to get since each page prints out exactly as you see it on your screen.
There are two ways to print from Swiftlight:
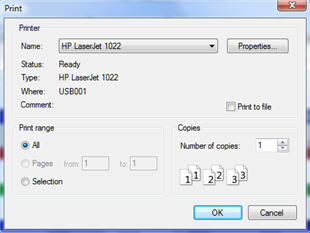
This brings up the standard Windows Print dialogue, as below. From this, you can print out all or a range of pages from the view that you are currently looking at on the selected on the Printer that you select.
Note: through the Properties button you can also select to print out with two or more pages per sheet as per the specification of your printer.
The Print Advanced dialogue gives you great flexibility in choosing which pages to print from your file, and how to print them. When you select print advanced, you will first see the dialogue below which has three sections: Page Selection, Output Quality and Page Footer.
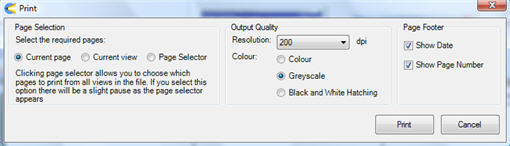
In the “Page Selection” section of the dialogue, you have three options:
In the “Output Quality” section of the dialogue:
In the page footer section, use the tick boxes to select whether you want the current date and a page number to appear at the bottom of the exported pages.
:
When you click the Page Selector button, another section of the dialogue will open up and, after a short pause, the dialogue will appear as illustrated below. (Note: the pages that appear in the page selector area of the dialogue will depend on the view you are in. By default, the pages from your current view and the Timeline are selected to appear when you initially open it up).
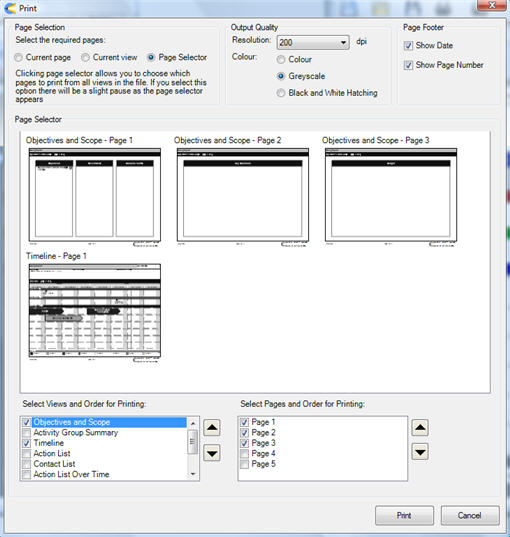
The two boxes at the bottom of this expanded dialogue allow you to select which views you want to print, the order you want to print them in, and the order for individual pages within each view.
In the "Select Views and Order for Printing" section:
Use the tick boxes to select / de-select a view. If a view is selected, its pages will appear in the page selector section in the middle of the dialogue, and in the right hand "Select Pages and Order for Printing" section. Click on the up / down arrows to change the position of the selected view in the order of views and change where this view will appear in the overall export order.
In the "Select Pages and Order for Printing" section:
Use the tick boxes to select / de-select a page. Select a page and then click on the up / down arrows to change the position of this page within the export order.
When you happy with your selections, click on the "Print" button at the bottom right of the dialogue, and then the standard Windows Print dialogue (as per the File > Print method above) will appear allowing you to select your printer, the number of copies etc. and select "OK" to print.